If you are new to sewing, you still probably have a basic understanding of the purpose of pins. They are used to secure fabrics before cutting, stitching, or pressing temporarily. The pin is the seamstress’s most important tool because it ensures the proper placement of fabric.
However, you can find yourself with several different kinds of pins in your sewing box and may not know the purpose of each. Learn what you need to know about pins here to help your sewing projects go smoothly.
Necessity of Pins
Pins are an essential tool for any sewer. It is one of the main things you need to start sewing. You can use them to pin layers of fabric together until you get them stitched together.
Also, use pins to connect fabric for cutting, guaranteeing they will be the same size all around. You will find many uses as you learn to sew, from pinning pieces together you do not want to lose or adding embellishments in the right place.
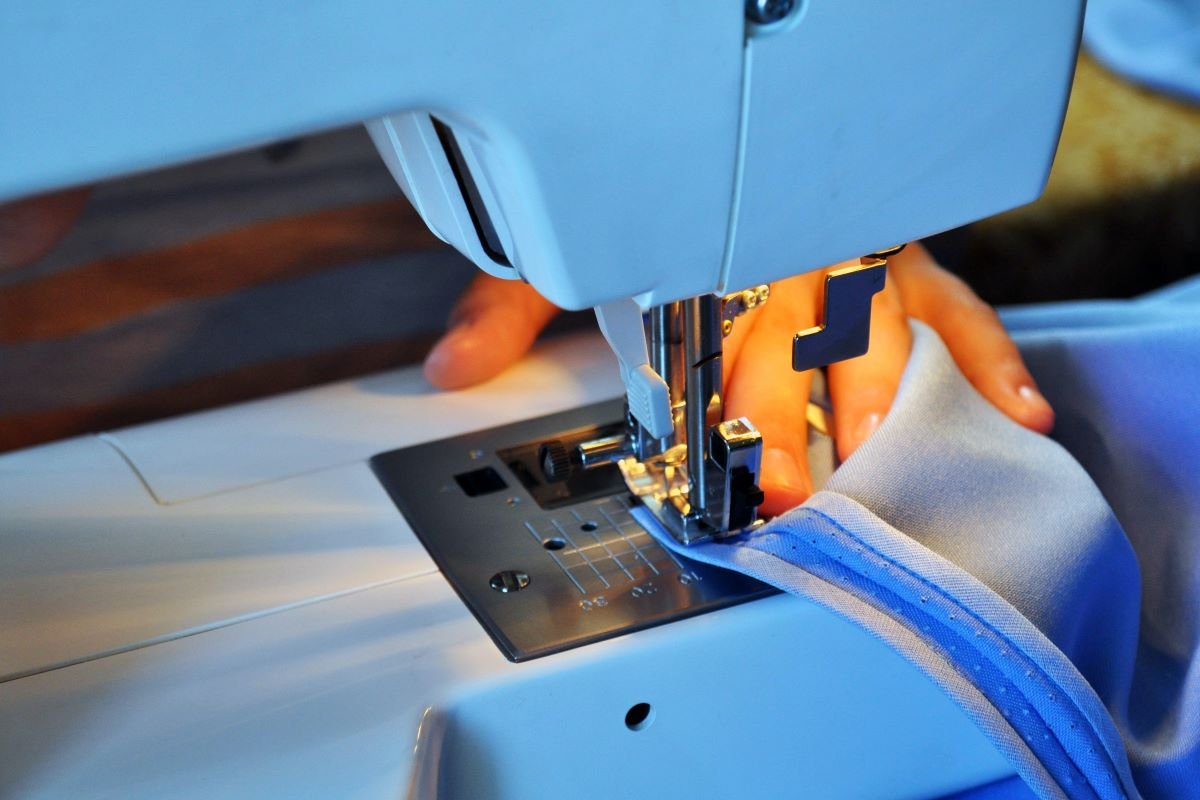
Sewing pins do the majority of the work in a successful project. When at the machine sewing, the pins prevent the presser foot from sliding and cause mismatched seams and uneven edges.
Pins can even fix minor issues with a properly placed pin. Sewers of any type will need pins for any project, including quilting, making apparel, sewing bags, etc.
Pinning takes patience and precision, especially as projects get smaller, larger, or have more pieces to connect. With even a tiny deviation throughout the entire project, the result is piece may not line up.
Placing a pin in the spot where two or more seams will meet and then pinning them together will guarantee that the seams and points are perfectly aligned.
Types of Pins
When deciding the pin to use, keep in mind the material and method you will be using. Choosing the right pin for a job can make sewing a much easier job.
Keep several types of pins on hand to ensure you are always ready for anything. There is a wide range of head designs, sizes, colors, and materials.
The heads of pins can be made of various materials, including plastic, glass, or flat metal. As a result, their functions vary from one another. Knowing the benefits and drawbacks of each type of head can help you decide which one is best for your needs.
Straight Pins
Straight pins are the most common as they are sturdy and do not flex. Most are made with nickel-plated steel. You will have a variety of sizes to pick from to suit different projects and fabrics.
However, if you want to iron the fabric with the pins, you need to ensure the pin head works under heat.
A shorter pin will not work for thicker or heavy fabric. Also, the ultra-thin metal shaft will leave only microscopic holes in the fabric. Instead, choose from several types of straight pins, including glass and plastic heads.

Flat Head Pins
Dressmaker pins look like a nail and are the longest and good for ironing or hand sewing. However, they are harder to see, especially on darker fabrics. Flat pins are rust-proof, though, as they are made of stainless steel, which is great for fabric.
Sewing Clips
Sewing clips hold fabric in place like a binder or paper clip. They do not cause whose in the fabric either. However, they are bulky and can make it a little harder to work around the sewing machine but not enough to cause problems. You should definitely have some of these clips on hand.
Also, as you will want to use pins on the seam allowance to prevent wholes, you can use clips anywhere, but they may require folding.
Specialty Pins
For every type of sewing, you can find a specialty pin. Here are a few of the common options:
T-Shaped Pins are useful for pressing iron-required upholstery fabrics and other craft tasks. Although you probably will not need them very often for stitching, there are times when nothing else will do.
Fork pins allow you to straddle the seam allowance, allowing for precise seam matching. They are ideal for coordinating plaids and other fabrics.
Silk pins are extra fine, like the fabric, to prevent damage. If you are using silk, you need these pins. Traditional silk pins are made entirely of metal, with no plastic or glass components.
Pin Length & Width
Pins with greater strength and length are preferable for quilting because of the several layers of fabric and batting. The sewing pin shaft is the thin metal rod that extends from the pin’s head to the point of the pin.
You will need both long and short pins on hand for your sewing projects.
Longer pins are needed for quilting and other multi-layer sewing crafts so that the layers of fabric can be pinned without fear of the pins coming loose. Regular quilting pins range in length from 1 1/2 to 2 inches.
Tiny crafts, particularly those requiring the attachment of appliqués, sequins, or trims, benefit most from using short pins. In order to prevent damaging your product and leaving unattractive holes, you should use the smallest possible pin.
The thickness of your pins depends on the material you are working with and the complexity of your project.
Work with thinner silk pins, measuring 0.4 or 0.5mm in thickness, while dealing with less forgiving textiles like silk. Use thicker pins (0.7 or 0.8mm) when working with heavy textiles. The pins will bend quickly if they are too thin for the thick fabric.
Take a look at what occurs when I use a thin pin for my quilting project! Thick pins are necessary when working with heavier textiles.
Pin Holders
Use a pincushion to keep your needles and pins organized, or get one for each different kind of needle and pin you own. A magnetic pin holder makes it easier to take the pins off and can put them back, especially while stitching on the machine.
Final Thoughts
If you are new to sewing, you need to build a pin collection. Most sewing projects will require straight pins, and you can choose the cute ones in jewel tones, flowers, or with novelty heads.
However, you may need thinner, smaller pins for many projects too. Thankfully pins are cheap and quite sturdy; they will last for years and help your projects come out amazing. Happy Sewing!


